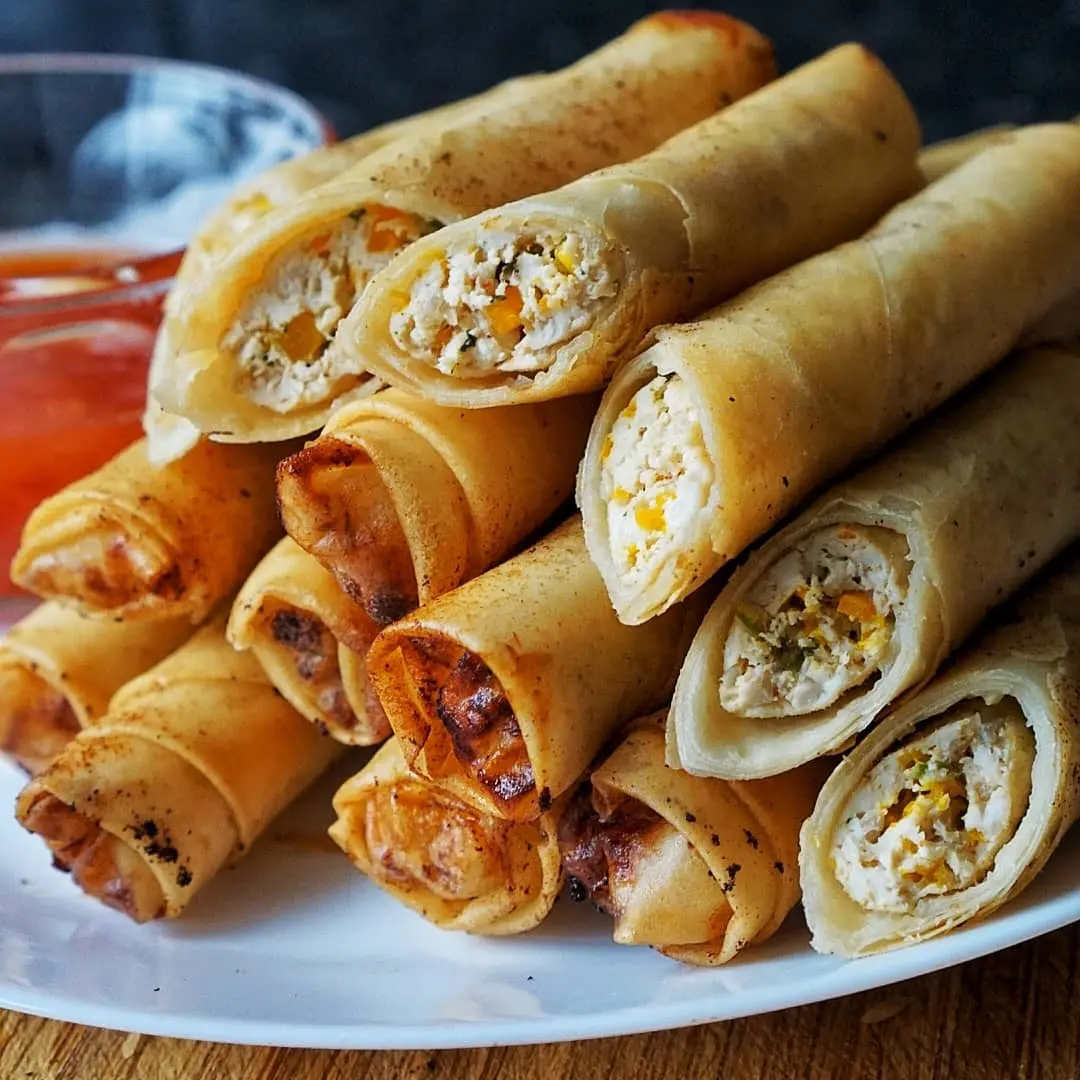
Chicken Lumpia Recipe is a Filipino-style spring roll filled with seasoned chicken and vegetables wrapped in thin pastry sheets. It is crispy on the outside and juicy inside. You will find it at street food stalls, in family gatherings, and in festive meals across the Philippines.
Chicken Lumpia Recipe works as a snack, appetizer, or party food. Many families serve it with sweet chili sauce or garlic vinegar dip.
The first time I tried making lumpia at home, I overstuffed the wrappers. Like, aggressively. They burst open in the fryer, and I ended up with floating bits of chicken and a pot of dirty oil. My Filipino friend laughed and said, “You’re trying too hard.” She was right.
Contents
Why This Chicken Lumpia Recipe Actually Works
- No mushiness. I finely shred the carrots and onion instead of chopping them into chunks. That means they cook through without releasing too much water.
- The wrapper stays sealed. A little egg wash on the edge? Game changer. No more lumpia that unravels mid-fry.
- Perfectly seasoned meat. We’re not just throwing bland chicken in a wrapper. Garlic, onion, a touch of soy sauce—it all soaks right into the ground chicken.
- That shatter-crunch. Roll them thin, fry at the right temp (not too hot, not too cold), and you get that glass-like crackle with every bite.
Tools You’ll Need
- Large mixing bowl – for combining the filling
- Food processor (optional but helpful) – for finely shredding carrots and onions. A box grater works too, watch your knuckles.
- Cutting board and sharp knife
- Small bowl – for the egg wash
- Pastry brush or your finger – to seal the wrappers
- Baking sheet or large plate – for holding the rolled lumpia before frying
- Thick-bottomed pot or Dutch oven – for frying. Cast iron holds heat best.
- High-heat thermometer – This is non-negotiable if you want crispy, non-greasy lumpia.
- Spider ladle or slotted spoon – for removing the fried rolls
- Wire rack – elevated, so air circulates underneath. No soggy bottoms here.
Ingredients for the Best Chicken Lumpia Recipe
Let’s talk specifics. You’ll find most of this in a regular grocery store.
For the Filling:
- 1 lb. ground chicken (dark meat or a mix of breast and thigh is best—don’t use all breast unless you want dry lumpia)
- 1 cup finely shredded carrot (about 1 large carrot)
- 1/2 cup finely minced onion (yellow or white)
- 3 cloves garlic, minced (don’t skimp)
- 2 green onions, finely chopped
- 1 tbsp soy sauce (or coconut aminos for gluten-free)
- 1/2 tsp black pepper
- 1/2 tsp salt
- 1/4 tsp sugar (just a pinch—it balances the savory)
For Rolling & Frying:
- 1 pack lumpia wrappers (thawed if frozen—keep them covered with a damp towel so they don’t dry out)
- 1 egg, beaten (for sealing)
- High heat oil (canola, vegetable, or avocado oil—enough to fill your pot 2 inches deep)
For Dipping (pick your fighter):
- Sweet chili sauce
- Vinegar with minced garlic and cracked pepper
- Spicy mayo
- Soy sauce with calamansi or lemon
Step-by-Step: How to Make Chicken Lumpia
1. Prep your filling
In a large bowl, combine ground chicken, shredded carrot, minced onion, garlic, green onions, soy sauce, pepper, salt, and sugar. Use your hands (seriously, it’s the best way) to mix everything until just combined. Don’t overwork it, or the texture will get tough.
Here’s a trick I learned the hard way: Squeeze out any excess moisture from the shredded carrots before adding them. Too much water = soggy filling = wrappers that tear.
2. Set up your rolling station
Lay a lumpia wrapper on a clean, dry surface like a diamond (one point facing you). Keep the rest of the wrappers under a slightly damp kitchen towel so they don’t turn into brittle little squares.
Place about 1 to 1.5 tablespoons of filling along the bottom third of the wrapper, shaping it into a log. Don’t overstuff. I know it’s tempting. Just don’t.
3. Roll it tight
Fold the bottom corner up and over the filling. Tuck it snugly, then fold in the left and right corners like you’re making a little envelope. Roll upward, keeping the roll tight but not strangling it. Brush the top corner with beaten egg, then finish rolling to seal.
Place the finished lumpia seam-side down on a baking sheet. Repeat until you run out of filling or wrappers (or patience—but trust me, it goes fast).
4. Heat the oil
Pour oil into your pot—about 2 inches deep. Heat over medium-high until the thermometer reads 350-360°F. Not lower. Not higher. Patience here pays off in a crunch.
5. Fry in small batches
Gently slide 4-6 lumpia into the hot oil, seam-side down first (this helps them stay closed). Don’t crowd the pot or the temperature drops.
Listen for that happy sizzle. Fry for 2-3 minutes, then flip. Cook another 2 minutes until golden brown and crispy all over. The sound changes—gets louder and sharper when they’re almost done.
6. Drain the right way
Remove with a spider ladle or slotted spoon. Place on an elevated wire rack. If your rack sits flat on a tray, prop it up with two small ramekins. Air needs to flow underneath, or the bottom stem gets sad.
7. Serve immediately
Sprinkle with a little salt right after they come out of the oil. Let them rest 1-2 minutes (the inside will be lava-hot otherwise), then dig in.
What I Messed Up So You Don’t Have To
First attempt: I used egg roll wrappers because the store was out of lumpia wrappers. Thick, doughy, wrong. Lumpia wrappers are thin and delicate for a reason.
Second attempt: I didn’t squeeze the moisture out of my carrots. The filling was wet, the wrappers got soggy before they even hit the oil, and half of them burst open. Lesson learned.
Third attempt: I got distracted by my phone (guilty) and let the oil get to 400°F. The lumpia browned in 45 seconds, but the inside was still cold. Burnt outside, raw inside. Not a good look.
Fourth attempt? Perfect. So, learn from my chaos and follow the steps.
Storage & Freezing (The Smart Way)
This chicken lumpia recipe is made for batch cooking.
To freeze uncooked lumpia: Arrange the uncooked, sealed rolls on a parchment-lined baking sheet in a single layer (not touching). Freeze until solid, about 2-3 hours. Transfer to a Ziploc bag or an airtight container. Fry straight from frozen—add 1-2 minutes to the cook time—no need to thaw.
To freeze cooked lumpia, let them cool completely on a wire rack. Freeze on a tray, then bag them. Reheat in a 375°F oven or air fryer for 5-8 minutes until hot and crispy again. A microwave will make them chewy—only do this if you’re desperate.
In the fridge, cooked lumpia lasts 3 days. But honestly? They never make it that long in my house.
Variations to Try Once You’ve Mastered This
Feeling adventurous? Try these:
- Spicy chicken lumpia: Add 1 tsp chili garlic sauce or 1/2 tsp cayenne to the filling.
- Shrimp & chicken lumpia: Swap half the ground chicken for finely chopped raw shrimp.
- Vegetable lumpia: Skip the chicken, double the carrots, and add shredded cabbage and bean sprouts.
- Cheese-filled lumpia: Tuck a small strip of cream cheese or Quick Melt cheese inside each roll. Dangerously good.
(Reader tip: If you want extra crispy lumpia, double-wrap them. Place one wrapper at an angle over another, fill, and roll. It sounds extra, but the crunch is unreal.)
Note
If you love this Chicken Lumpia recipe, I would be so grateful if you leave a 5-star 🌟 rating in the recipe card below. I love reading your comments and feedback!
Stay posted on my latest cooking recipe through social media @Instagram, Pinterest and Facebook. And also, don’t forget to tag me when you try my recipes.
Family Favorite Chicken Lumpia Recipe
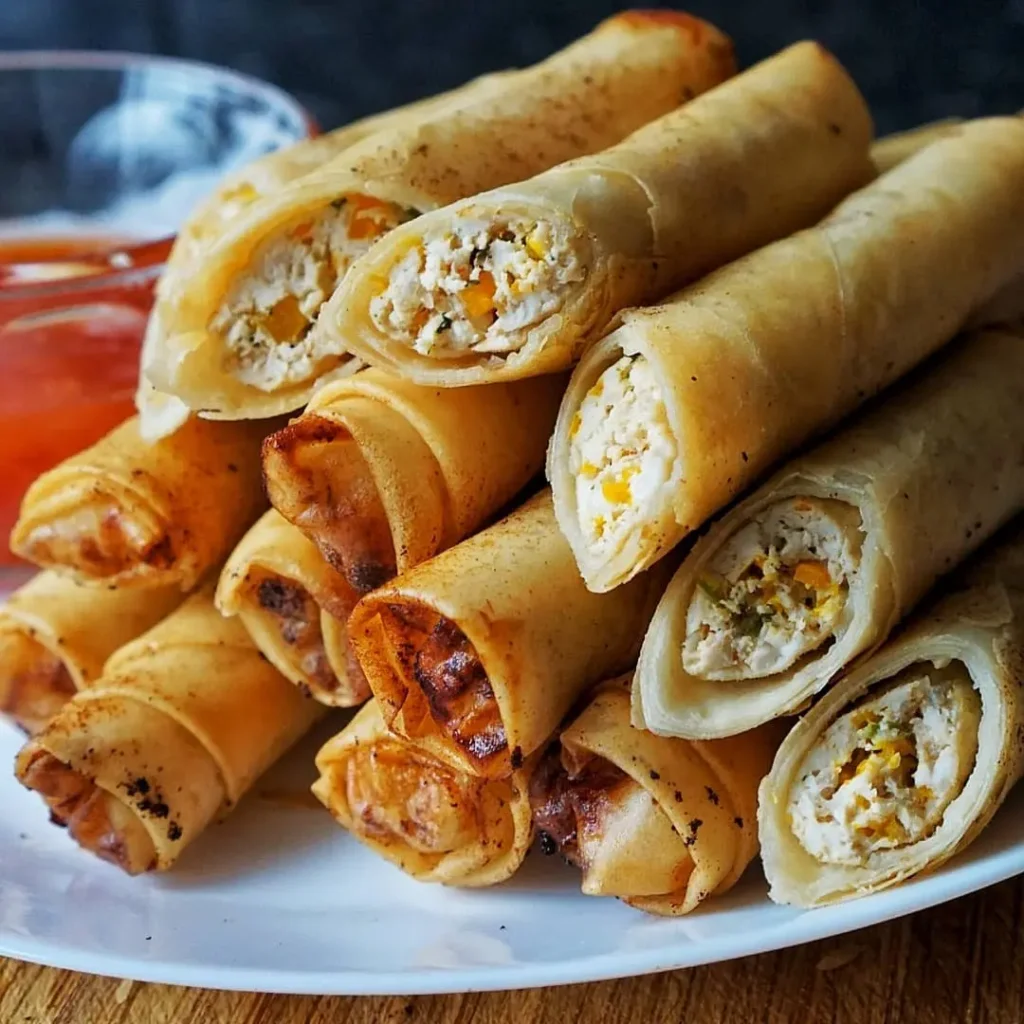
Family-Favorite Chicken Lumpia Recipe: crispy Filipino spring rolls with a juicy chicken filling, with easy steps, ingredients, and cooking tips for a perfect crunch.
Ingredients
For the Filling
For Rolling and Frying
Dipping Sauces (Choose Your Style)
How to Make Chicken Lumpia
1. Prep your filling
In a large bowl, combine:
- Ground chicken
- Shredded carrot
- Minced onion
- Garlic
- Green onions
- Soy sauce
- Black pepper
- Salt
- Sugar
Mix with your hands until just combined. Do not overmix. It makes the filling tough.
Squeeze out extra moisture from shredded carrots before mixing. Too much water makes soggy filling and tears wrappers.
2. Set up your rolling station
Place a lumpia wrapper on a clean, dry surface in a diamond shape.
Keep remaining wrappers covered with a slightly damp kitchen towel. This stops them from drying out and cracking.
Add 1 to 1.5 tablespoons of filling in a log shape on the lower third of the wrapper.
Do not overfill.
3. Roll it tight
- Fold the bottom corner over the filling. Pull it snug.
- Fold left and right sides inward like an envelope.
- Roll upward tightly but do not crush it.
- Brush the top corner with beaten egg.
- Finish rolling to seal.
- Place seam-side down on a tray.
- Repeat until all filling is used.
4. Heat the oil
- Pour oil into a deep pot about 2 inches high.
- Heat over medium-high until it reaches 350–360°F.
- Do not fry below or above this range. Temperature control gives crisp results.
5. Fry in small batches
- Carefully add 4 to 6 lumpia at a time.
- Place seam-side down first to lock them closed.
- Do not overcrowd the pot.
- Fry for 2–3 minutes per side.
- Flip and cook another 2 minutes until golden brown and crispy.
- Listen for a sharp, steady sizzling sound. That signals crisping.
6. Drain properly
Remove lumpia using a slotted spoon or spider ladle.
Place on an elevated wire rack.
Do not place directly on flat paper towels. Air needs to flow under them to keep the bottom crisp.
7. Serve immediately
- Sprinkle a light pinch of salt right after frying.
- Let them rest for 1–2 minutes before eating.
- Serve hot with your choice of dipping sauce.
Nutrition Facts
Servings 10
- Amount Per Serving
- Calories 210kcal
- % Daily Value *
- Total Fat 10g16%
- Sodium 420mg18%
- Protein 14g29%
* Percent Daily Values are based on a 2,000 calorie diet. Your daily value may be higher or lower depending on your calorie needs.
Note
Your Turn
So, have you ever tried making chicken lumpia at home? Or are you still buying the frozen kind that never gets quite crispy enough? Drop a comment below—tell me your favorite dipping sauce or any wild filling combinations you’ve tried.
And if you make this recipe, tag me. I want to see those golden, crispy rolls.
Pin this recipe to share with your friends and followers.

FAQ – Chicken Lumpia Recipe
Can I bake or air fry lumpia instead of deep-frying?
Yes, but the texture changes. For air frying: spray lumpia generously with oil and cook at 375°F for 8-10 minutes, flipping halfway. They’ll be crispy but not as shatter-crunchy as deep-fried. Baking at 400°F for 12-15 minutes works too, but brush them with oil first.
Why are my lumpia wrappers tearing?
Two reasons: either your filling is too wet (squeeze those veggies!), or your wrappers are dried out. Keep them covered with a damp towel while you work.
What’s the best dipping sauce for chicken lumpia?
Sweet chili sauce is classic.
But I also love a simple mix of 1/2 cup vinegar, 2 minced garlic cloves, 1 tsp black pepper, and a pinch of salt. Let it sit for 10 minutes before serving.
Can I make this lumpia recipe gluten-free?
Absolutely. Use gluten-free lumpia wrappers (check Asian grocers or make your own with rice paper) and swap soy sauce for coconut aminos or tamari.

You may also like...